How to Remove Scratches from Watch Bezel: 5 Safe Methods
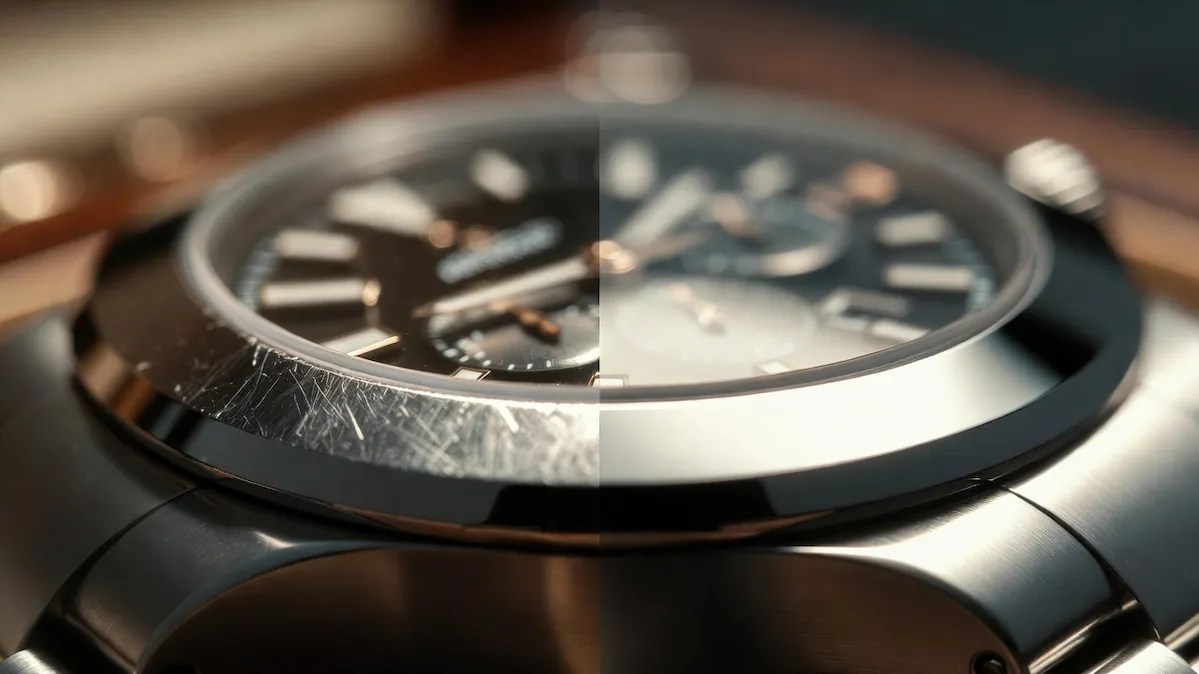
Removing scratches from a watch bezel is entirely possible at home — but only if you match the method to the bezel material.
That is the step most guides skip. Use a polishing compound on a PVD-coated bezel and you polish through the coating in seconds. Polish a brushed bezel in circular motions and you permanently destroy the grain pattern. The scratch you started with would have been preferable.
This guide covers five proven methods for removing bezel scratches, each matched to a specific material. You will also find a decision table that tells you exactly when to stop and call a professional, a brand-specific guide for Rolex, Omega, TAG Heuer, and others, and a product comparison chart covering everything worth using and everything to avoid.
Disclaimer: The information in this article is provided for educational purposes only. Results may vary depending on your specific watch model, bezel material, and condition. The Pristine Vault is not responsible for any damage that occurs during
at-home polishing attempts. When in doubt, consult a qualified watchmaker or authorized service center.
Table of Contents
- Bezel Materials: What You Can and Cannot Do at Home
- 5 Safe Methods for Removing Watch Bezel Scratches
- Method 1: Polishing Cloth for Swirls and Light Marks (All Polished Steel)
- Brand-Specific Bezel Scratch Guide: Rolex, Omega, TAG Heuer, and More
- Products Worth Using — and Products to Avoid
- When to Stop and Call a Professional
- Frequently Asked Questions
Start with the decision table below. Everything else follows from knowing your material and your scratch depth
Step 1: Identify Your Scratch Depth and Bezel Material Before Touching Anything
The fingernail test is the most reliable quick assessment available without professional tools. Run your fingernail across the scratch at a 90-degree angle to its direction.
Nail glides over without catching: Surface scuff or swirl mark. Almost always fixable at home with a polishing cloth alone.
Nail barely catches at the edge: Light surface scratch. DIY-fixable on steel and titanium with the right compound. Gold requires extra care.
Nail catches noticeably: Moderate scratch. DIY possible on steel with more effort and risk. Worth weighing against professional cost.
Nail sinks in clearly: Deep gouge. Professional service is the correct answer. Home polishing will make the surrounding area worse without resolving the scratch.
Apply this test before choosing your method. Then use this table to confirm whether DIY is appropriate:
Scratch Type | Fingernail Test | Material | Approach | Est. Time / Cost |
Hairline / swirl marks | Nail glides over | Any steel | DIY — polishing cloth | 15–20 min / $0–25 |
Light surface scratch | Nail barely catches | Stainless steel | DIY — compound + cloth | 30–45 min / $10–25 |
Light surface scratch | Nail barely catches | Gold | DIY — gold cloth only | 20–30 min / $15–30 |
Moderate scratch | Nail catches clearly | Stainless steel | DIY possible — proceed carefully | 45–90 min / $15–30 |
Deep gouge | Nail sinks in noticeably | Any metal | Professional only | $50–$300+ |
Any scratch | Any | Ceramic | Professional / replacement | $80–$400+ |
Any scratch | Any | PVD / DLC / IP coating | Professional re-coating only | $100–$500+ |
Any scratch | Any | Vintage or collector piece | Professional — preserve patina | Varies |
⚠️ Critical rule for vintage and collector watches: Do not polish them. Original brushed finishes and naturally worn surfaces are part of the watch's authenticity and value. Over-polishing a 1960s Rolex Submariner removes the "sharp edges" on the case that collectors specifically look for. A pristine polish on a vintage watch can reduce value by 20–40% at auction. If in doubt, leave it. |
Bezel Materials: What You Can and Cannot Do at Home
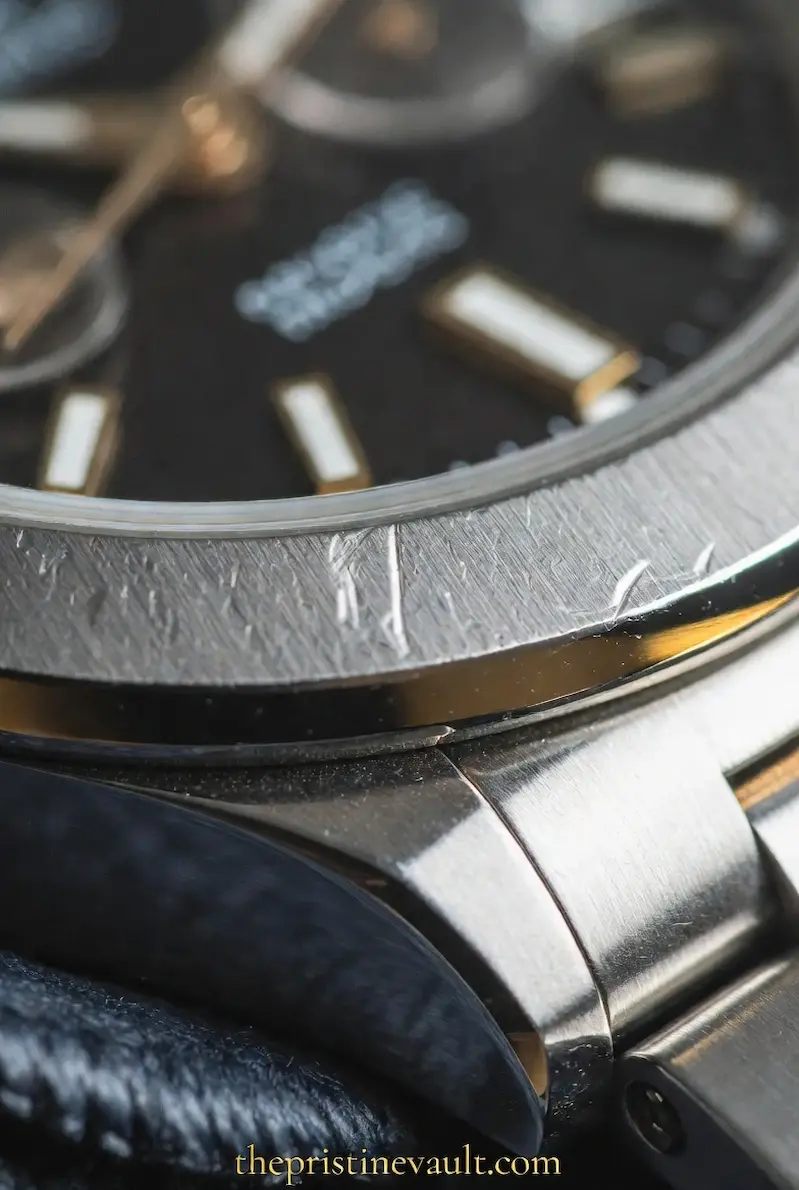
Your bezel material determines which products are safe, which motions to use, and whether DIY is viable at all. This table covers every common material found on luxury watches:
The bezel is just one of the eight components that determine a luxury watch's long-term value and durability.
Material | DIY Possible? | Best Product | Finish Direction | Biggest Risk |
316L Stainless Steel | Yes — most forgiving | Flitz or Cape Cod cloth | Circular (polished) / grain (brushed) | Removing too much metal |
904L Stainless Steel (Rolex) | Yes — slightly harder | Cape Cod or Flitz | Circular (polished) / grain (brushed) | Brushed areas hard to match |
Titanium | Yes — with care | Fine metal polish | Always with grain | Scratches more easily than steel |
Solid Gold (18k) | Yes — gentle touch only | Gold jewelry cloth | Circular, very light pressure | Thinning the gold layer |
Gold Plated / PVD / DLC | No | Dry microfiber only | N/A | Polishing through coating instantly |
Ceramic | Rarely | Cerium oxide (experienced users) | N/A | Scratches require replacement |
Aluminum bezel insert | Limited | Touch-up marker (color match) | N/A | Anodizing cannot be restored DIY |
ℹ️ Rolex 904L vs 316L Steel — What Changes: Rolex uses 904L stainless steel, which is harder and more corrosion-resistant than the 316L used by most other brands. The practical difference for DIY polishing: 904L takes slightly longer to polish and holds a sharper edge on brushed surfaces. The method is identical — just expect more passes needed for the same result. |
5 Safe Methods for Removing Watch Bezel Scratches
Method 1: Polishing Cloth for Swirls and Light Marks (All Polished Steel)
Best for: Light swirl marks and surface hazing on polished stainless steel. Time required: 15–20 minutes.
This is the right starting point for almost every DIY scratch job. A Cape Cod polishing cloth or Sunshine Polishing Cloth contains a fine abrasive pre-loaded into the fabric. No additional compound needed.
Clean the bezel with a dry microfiber cloth to remove any grit. Small particles during polishing create new scratches.
Tape surrounding surfaces with painter's tape if the bezel is close to the crystal or case.
Rub in small circular motions over the scratched area using light, even pressure. Let the cloth do the work — do not press hard.
Assess under natural daylight after every 60 seconds of work. This prevents over-polishing.
Finish with a clean dry microfiber cloth to remove any residue.
❌ Do not use circular motion on a brushed finish. Circular polishing on a brushed (satin) bezel creates a swirling pattern that permanently alters the finish. See Method 2 for brushed surfaces. |
Method 2: Directional Polishing for Brushed / Satin Bezels
Best for: Light to moderate scratches on brushed stainless steel or titanium. Time required: 30–60 minutes.
Brushed finishes are directional. Every stroke of the original factory finishing ran in one direction, creating fine parallel lines. The only goal of DIY repair on brushed surfaces is to blend the scratch into those existing lines — not to remove the scratch in isolation.
The finishing quality of a bezel — brushed, polished, ceramic, or coated — is one of the clearest markers separating luxury from fashion-grade timepieces.
Identify the grain direction by looking at the bezel under direct lighting. The fine lines should be clearly visible.
Apply a small amount of Flitz or Autosol to a clean white cotton cloth — not directly to the bezel.
Work in short, firm strokes following the existing grain direction exactly. Never deviate.
Cover a wider area than just the scratch. Blending requires the surrounding finish to match. Working only on the scratch creates a visible polished patch in a brushed field.
Wipe clean and assess after every 4–5 strokes. Stop the moment the scratch is no longer visible — more is worse, not better.
Real scenario: A brushed Omega Seamaster bezel with a 3mm scratch from a doorknob. Three passes of Autosol on a cotton cloth, following the brushed grain direction, each covering the full bezel face rather than the scratch alone. After the third pass: the scratch is gone and the surrounding finish is consistent. Total time: 22 minutes.
Method 3: Gold Polishing Cloth for Solid Gold Bezels
Best for: Light surface marks on solid 18k gold bezels. Time required: 20–30 minutes.
Solid gold is workable but softer than steel, meaning it removes more easily. The correct approach uses a jewelry-specific polishing cloth with no additional compound.
Use a gold-specific jewelry cloth only. Standard metal polishing compounds are too abrasive and remove gold faster than intended.
Apply extremely light pressure. Let the cloth’s pre-loaded compound do the work. Pressing hard removes more metal than necessary.
Work in short strokes following the finish direction. Most gold bezels are high-polish — circular motion is appropriate.
Limit to 3–4 passes maximum, then assess. Gold is a finite resource on the bezel. Over-polishing thins it.
❌ Gold-plated and PVD bezels: Do not use any abrasive product. The coating is measured in microns. A single polishing pass can remove it entirely in the worked area, leaving a two-tone bezel that is worse than the original scratch. Dry microfiber cloth only — or professional re-coating. |
Method 4: Ceramic Bezel — What You Can Actually Try
Best for: Only the lightest surface marks on ceramic. Most ceramic scratches require professional intervention or bezel replacement.
Ceramic's hardness (close to sapphire on the Mohs scale) means conventional polishing compounds do not cut it. The material that removes ceramic scratches is cerium oxide — a rare earth abrasive used in optical polishing.
What sometimes works: Cerium oxide paste on a soft felt buffing pad, applied by hand in small circular motions for surface-level haze or very fine marks. Results vary significantly by scratch depth.
What does not work: Metal polish, toothpaste, or any standard watch compound. These leave residue without affecting the ceramic surface.
What always works: Professional service or manufacturer bezel replacement. Factor replacement cost ($80–$400+ depending on brand) into your ownership budget for ceramic-bezeled watches.
ℹ️ Scratch-resistant does not mean scratch-proof: Ceramic bezels are among the most scratch-resistant surfaces in watchmaking — harder than steel, harder than sapphire in many formulations. But they are brittle. A hard enough impact does not scratch ceramic — it chips or cracks it. Chips in ceramic cannot be polished. They require replacement. |
Method 5: Post-Polish Nano-Ceramic Coating for Long-Term Protection
Best for: Protecting a freshly polished bezel against future scratches. Apply after any of the above methods on steel or titanium.
Products like Gyeon Watch Coat add a nano-ceramic protective layer to polished or brushed stainless steel. The coating is invisible and adds measurable hardness to the surface, reducing the depth and frequency of future scratches.
Ensure the bezel is fully clean and dry after polishing. Any residue prevents proper bonding.
Apply one drop of Gyeon Watch Coat to a clean applicator cloth. Wipe over the bezel surface in one direction.
Allow 5 minutes to cure before buffing off any excess with a clean dry microfiber cloth.
Full cure takes 24 hours. Avoid water contact or heavy wear during this period.
Important: Do not apply nano-ceramic coating over PVD, DLC, or IP-coated bezels. These coatings require a clean metal surface for bonding — layering over existing coatings creates adhesion failure and peeling.
No matter how durable the material is, implementing a regular maintenance routine is the only way to keep your prized possessions in mint condition. Learn more in our Comprehensive Care Guide
Brand-Specific Bezel Scratch Guide: Rolex, Omega, TAG Heuer, and More
The method matters less than the specific bezel finish on your exact reference. This table covers the most common luxury watch brands and their finishing specifics:
Brand | Bezel Material | Finish Type | DIY Recommendation |
Rolex Submariner / GMT | 904L stainless steel | Brushed + polished combo | Cape Cod cloth on polished flanks; grain brush on brushed top — do not mix techniques |
Rolex Daytona | 904L stainless + ceramic insert | Polished case + ceramic | Polish steel case only; ceramic insert: professional or leave it |
Omega Seamaster | 316L stainless steel | Brushed + polished | Flitz or Cape Cod on polished; grain direction on brushed surfaces |
Omega Planet Ocean | Ceramic bezel ring | Matte ceramic | Professional only for ceramic. Polish steel case separately. |
TAG Heuer Aquaracer | 316L stainless | Brushed bezel top | Follow grain direction strictly; Cape Cod cloth works on polished lugs |
Audemars Piguet Royal Oak | 316L with satin + mirror | Alternating brushed/polished | Extreme caution — alternating finishes on same surface. Professional strongly recommended. |
Patek Philippe | Gold or platinum | High-polish | Gold cloth only, minimal pressure. Any uncertainty — professional only. |
⚠️ Rolex-specific note: The Submariner, GMT-Master II, and Explorer II all use both brushed and polished surfaces on the same bezel. The top face of the bezel is typically brushed; the flanks (sides) are polished. Treat each surface independently. Never apply the same technique to both. Using circular motion on a brushed Submariner bezel top is one of the most common DIY mistakes Rolex owners make — and one of the most visible. |
Products Worth Using — and Products to Avoid
The right product applied to the wrong surface causes more damage than the scratch you started with. Use this table as a reference before purchasing anything:
Product | Price | Best For | Use On | Avoid On |
$10–18 | Light swirls, polish finish | Steel, gold | Brushed finish — ruins grain direction | |
$30–40 | Moderate scratches, steel | Steel, titanium | PVD / DLC / ceramic / gold plate | |
$8–15 | Brushed or polished steel | Steel, titanium | Coated surfaces, ceramic | |
$8–12 | Acrylic crystals only | Acrylic crystal ONLY | Metal bezels — wrong application | |
Gold Jewelry / Sunshine Cloth | $8–15 | Solid gold bezels | Solid gold only | Steel — not abrasive enough |
$15–25 | Light ceramic marks (experienced) | Ceramic with rotary tool | Steel — wrong compound for metal | |
Gyeon Watch Coat (protection) | $20–35 | Post-polish protection layer | Steel, titanium | Do not apply over PVD / DLC |
❌ Never use: Toothpaste on metal bezels (inconsistent abrasive, leaves residue in crevices, unreliable results). Dremel or rotary tools unless you have significant professional experience — they remove material in seconds and cannot be undone. Baking soda, sandpaper, or any product not specifically formulated for watch or jewelry polishing. |
When to Stop and Call a Professional
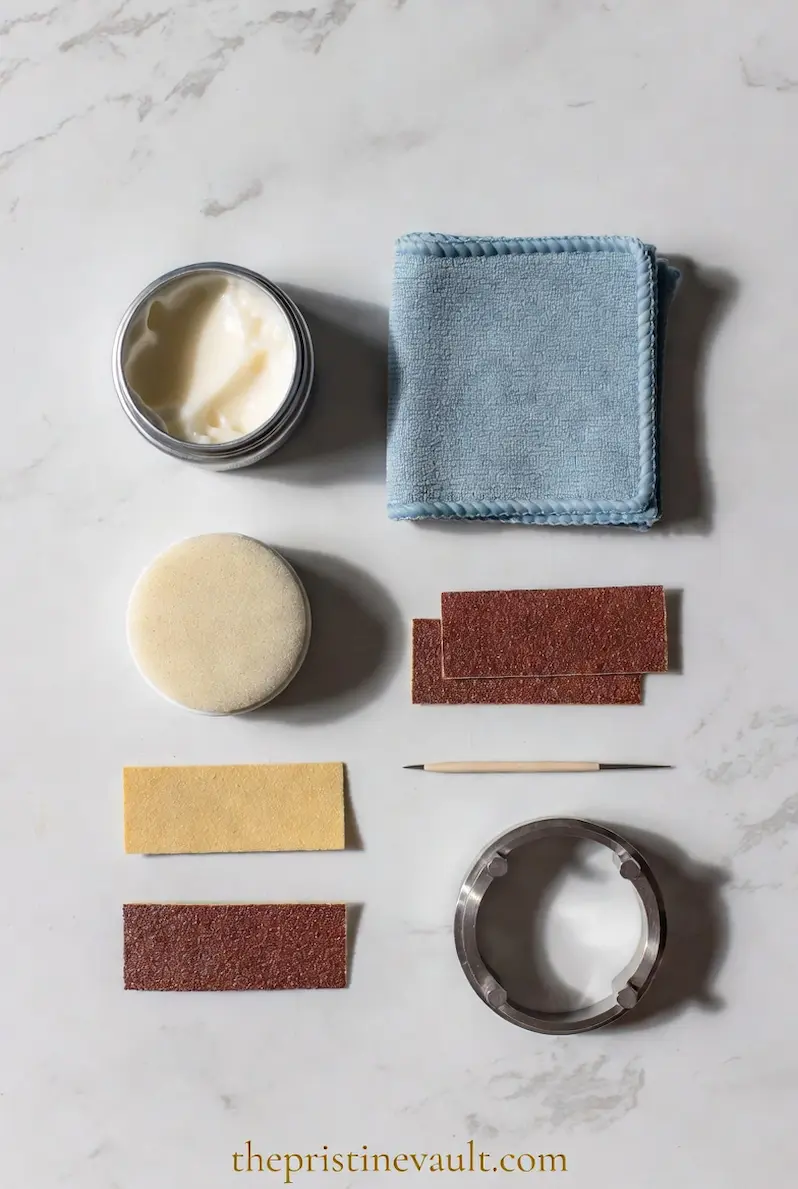
There is a clear point at which DIY repair becomes more expensive than the professional service you were trying to avoid. Recognize it before crossing it.
The scratch catches your fingernail noticeably. Surface polishing will not fill a deep gouge. It will polish the metal around it and make the scratch more visible by contrast.
The bezel has a PVD, DLC, or IP coating. Any abrasive product removes the coating in the polished area. Re-coating by a professional costs $100–$500 depending on brand and complexity — but it restores the watch to spec.
The bezel has alternating brushed and polished surfaces on the same panel. The Royal Oak and some Patek models have this. Polishing one type of finish without affecting the adjacent one requires professional equipment and skill.
The watch is a vintage or collector reference. Professional polishing restores to factory specification. But for vintage watches, factory specification means preserving original metal and finish character — something a professional understands and a DIY approach typically does not.
You have already tried DIY and the result is uneven. Stop immediately. Uneven polishing compounds errors. A professional can often recover from early-stage DIY mistakes if you stop before going further.
Professional polishing cost range: $50–$100 at an independent watchmaker. $200–$500+ at brand service centers (often bundled with a full service). For a $5,000+ watch, the cost of professional bezel restoration is proportionally small.
Frequently Asked Questions
Can I remove scratches from a Rolex bezel at home?
Light surface scratches on the polished flanks of a Rolex bezel can be addressed at home with a Cape Cod polishing cloth. The brushed top surface requires directional technique with a fine polishing compound. However, Rolex uses specific combinations of brushed and polished surfaces on the same bezel that are difficult to restore to factory specification without professional equipment. For watches valued above $5,000, the case for professional service is strong.
Will polishing a watch bezel reduce its value?
For modern watches in regular wear, light polishing typically has minimal impact on secondary market value. For vintage watches, pre-owned collector pieces, or any watch with original factory finish intact, polishing can reduce value meaningfully — sometimes by 20–40% at auction where condition is assessed carefully.
When in doubt, document the current condition, research comparable sale prices, and weigh the cosmetic improvement against the value risk.
What is the difference between brushed and polished bezel finish?
A polished finish reflects like a mirror — high-gloss, no visible grain pattern. A brushed (satin) finish shows fine parallel lines visible under direct light, with a softer, non-reflective sheen. The distinction matters entirely for polishing technique: circular motion restores polished surfaces; directional strokes following the grain restore brushed surfaces. Mixing the technique ruins the finish.
Can I use toothpaste to remove scratches from a watch bezel?
Toothpaste is mildly abrasive and occasionally referenced for acrylic watch crystals. On metal bezels, it produces inconsistent results, leaves residue in gaskets and crevices, and provides less controlled cutting than purpose-made watch polishes. Use Flitz, Cape Cod cloth, or Autosol instead — all are purpose-formulated for metal surfaces and cost roughly the same.
Is a Dremel safe to use on a watch bezel?
Only for experienced users. A rotary tool at even low speed removes material very quickly — a single pass can alter the geometry of a bezel edge permanently. If you have not used a Dremel on metal before, practice extensively on inexpensive metal objects first.
For any watch worth over $500, professional polishing is a significantly lower-risk option than a rotary tool in inexperienced hands.
How much does professional watch bezel polishing cost?
An independent watchmaker typically charges $50–$100 for bezel polishing as a standalone service. Brand service centers (Rolex, Omega, TAG Heuer) usually include polishing as part of a full movement service, which runs $300–$800+ depending on the caliber. If your watch is due for a service regardless, the cosmetic work is effectively included.
How do I prevent bezel scratches going forward?
A nano-ceramic coating like Gyeon Watch Coat applied after polishing adds measurable surface hardness. For daily wear, rotating between multiple watches reduces wear on any single piece. Removing the watch before physical work, gardening, or gym sessions eliminates the highest-risk scratch scenarios.
A watch roll or cushioned case prevents metal-on-metal contact in storage — a common source of bezel scratching that most owners overlook.
Final Thoughts
Three things determine whether you can remove a watch bezel scratch at home: the depth of the scratch, the material of the bezel, and whether you apply the correct technique for that finish.
Get all three right and most surface scratches on stainless steel are a 30–45 minute fix. Get any one wrong and you risk damage that costs more to correct than the professional service you were trying to avoid.
The fingernail test first. Material identification second. Method selection third. For ceramic and coated bezels, the answer is almost always professional service — accept that limitation before attempting anything and you protect both the watch and your own time.
Now it's your turn — run the fingernail test on your bezel today, identify the finish type, and start with the lightest method available before escalating. Your watch deserves that level of precision.
Editorial Notice: This article is for informational purposes only. DIY polishing carries inherent risk. For high-value or vintage pieces, professional service is always recommended. This article may contain affiliate links — we earn a small commission at no extra cost to you.