How to Inspect a Used Camera Lens for Fungus, Haze, and Damage Before You Buy
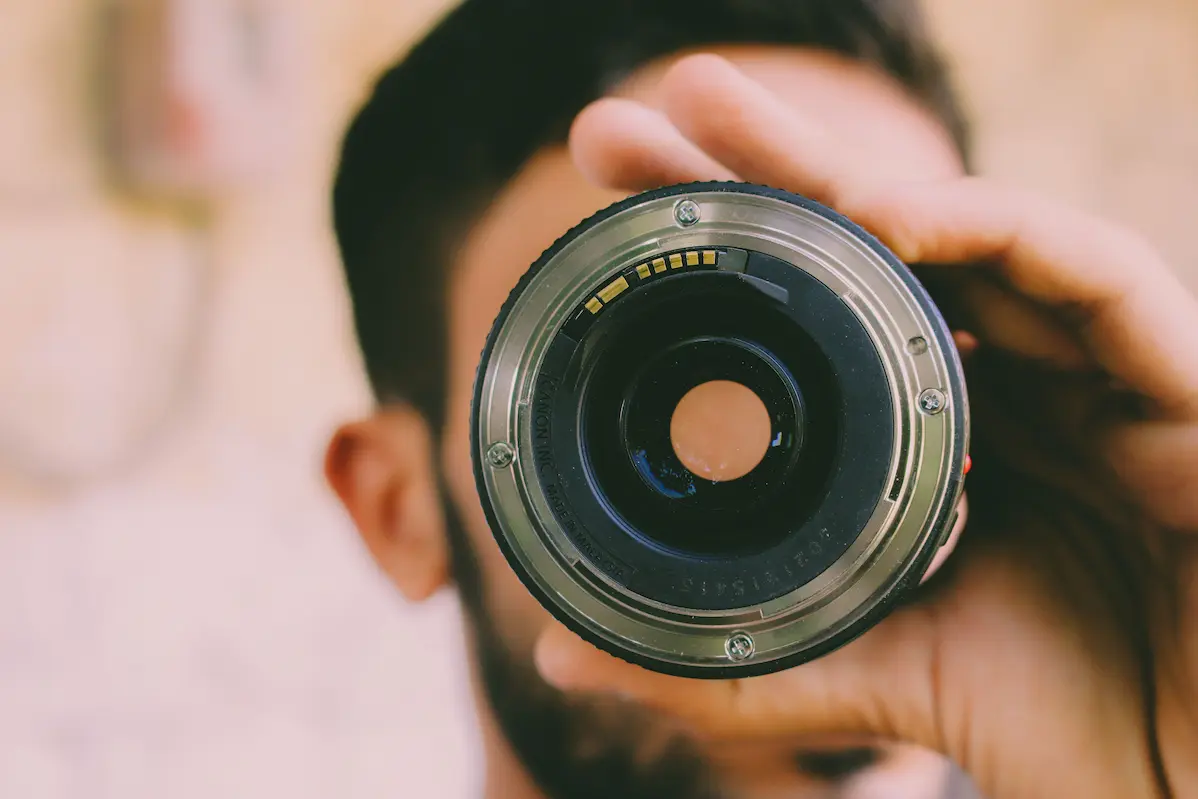
Learning how to inspect a used camera lens for fungus properly saved a collector friend of mine roughly $1,400 last year, the exact amount he would have spent on a "mint condition" vintage Leica Summicron before he noticed, on the third and final look, a faint spiderweb pattern deep inside the element that the seller's photos had conveniently failed to capture. He walked away from that sale. Three weeks later, he found a genuinely clean copy for less money.
Buying used or vintage lenses, particularly for Leica and other collectible systems, comes with real risk that a few minutes of careful inspection can mostly eliminate. This is a companion piece to our guide on how to prevent camera lens fungus, that piece covers protecting a lens you already own, this one covers catching problems before you own it at all.
Table of Contents
- Why This Matters More for Vintage and Collectible Lenses
- What You'll Need
- How to Inspect a Used Camera Lens for Fungus Specifically
- Checking for Haze
- Checking for Separation
- Checking for Scratches and Coating Wear
- Mechanical Checks Beyond the Glass
- How to Inspect a Used Camera Lens Photos Before You Even See It in Person
- Red Flags in Seller Descriptions
- Frequently Asked Questions
- Can lens fungus be cleaned, or does it always require replacement?
- Is slight haze always a deal breaker?
- How much should I negotiate the price down if I find an issue?
- Should I always ask for a return policy on used lens purchases?
- Do these inspection techniques work the same for all camera brands, or just Leica?
- The Bottom Line
Why This Matters More for Vintage and Collectible Lenses
Modern lenses with sealed construction and better quality control have meaningfully reduced fungus and haze risk compared to decades past. Vintage and collectible lenses, exactly the category most relevant to Leica and similar heritage systems, carry considerably higher risk simply due to age, decades of unknown storage conditions, and construction techniques that predate modern sealing standards.
This isn't a reason to avoid vintage glass entirely, the optical character and collectible value are often exactly why people seek these lenses out.
It's a reason to inspect carefully rather than trusting seller photos and descriptions alone, which brings us to the actual process.
What You'll Need
The inspection process requires minimal equipment, most of which is worth owning generally if you collect cameras or lenses regularly.
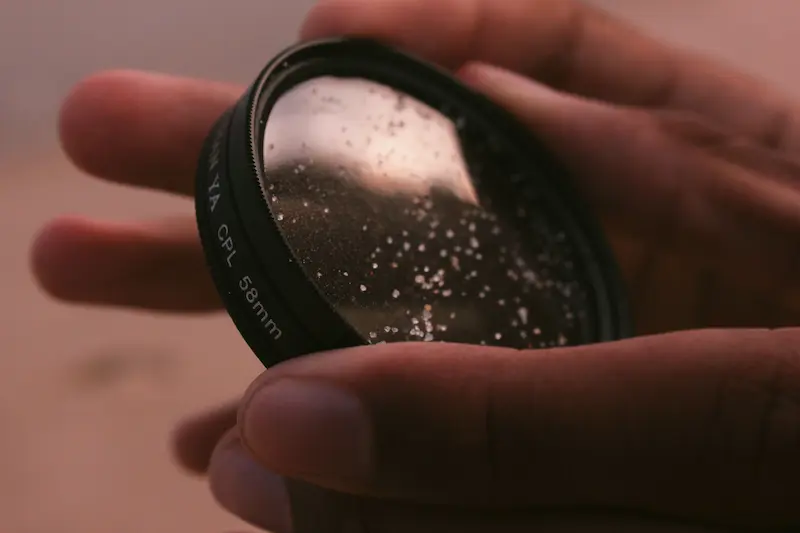
A bright, focused light source, a small flashlight or dedicated inspection light works better than ambient room lighting for revealing internal issues.
→ Check a bright LED inspection flashlight [Check on Amazon]
A jeweler's loupe or small magnifier, for examining coating and surface details closely.
→ Check a jeweler's loupe [Check on Amazon]
And ideally, access to a camera body compatible with the lens, to check actual image results and autofocus or aperture function beyond visual inspection alone.
How to Inspect a Used Camera Lens for Fungus Specifically
Fungus typically appears as fine, branching, spiderweb or root-like patterns somewhere inside the lens elements, distinct from dust (which appears as isolated specks) or haze (which appears as a more uniform cloudy film).
Hold the lens up to your bright light source at an angle, not straight through it, angled light reveals fungus patterns far more clearly than light passing directly through the lens axis.
Slowly rotate the lens while examining each visible element, fungus often concentrates on one or two specific internal surfaces rather than uniformly throughout. Check both the front and rear elements directly, then use your light angled through the lens barrel to examine internal elements as thoroughly as the lens design allows without disassembly.
Early-stage fungus can be extremely faint, easy to miss under casual inspection, which is exactly why the angled light technique matters more than it might seem for something that sounds this straightforward.
Checking for Haze
Haze presents differently than fungus, a more uniform, milky, or slightly foggy appearance across an element's surface, often caused by breakdown of internal lens coatings or by oil migrating from the aperture mechanism onto nearby glass surfaces over time.
Breathe gently on the lens element (fogging it slightly) and watch how the fog clears. A clean element clears evenly and quickly. A hazy element may show an uneven clearing pattern, or the underlying cloudiness remains faintly visible even after the breath fog itself has fully cleared, a telling sign worth taking seriously.
Checking for Separation
This is one of the more serious, and sometimes trickier to spot, issues, particularly relevant to older lenses using cemented (glued together) multi-element groups. Separation occurs when the adhesive bonding these elements begins to fail, creating a visible pattern.
Look for oily-looking rings, rainbow-like interference patterns, or areas that appear slightly separated or bubbled at the edges of internal element groups, most visible under angled light against a dark background.
Separation, unlike surface dust or minor haze, typically isn't something a standard cleaning resolves, and repair, when even possible, is considerably more involved and costly than routine cleaning.
Checking for Scratches and Coating Wear
Surface scratches on the front or rear element are usually the easiest issue to spot, visible under normal light without special technique, though checking under angled light still helps catch finer scratches that direct light might not reveal clearly.
Coating wear, worn or scratched anti-reflective coating specifically, shows up as small patches where the coating's characteristic color tint appears interrupted or missing compared to the surrounding surface.
Minor coating wear on rear elements, less visible in actual images, is generally less concerning than similar wear on front elements, which more directly affects image contrast and flare resistance.
Mechanical Checks Beyond the Glass
Optical condition is only part of the picture. A few mechanical checks worth doing alongside the visual inspection:
Aperture blades should move smoothly through their full range without sticking, and should close to a clean, symmetrical shape rather than an uneven or irregular opening, a sign of oil contamination on the blades themselves. Focus rings should turn with smooth, consistent resistance throughout their range, not gritty, loose, or inconsistently tight in different sections.
For lenses with electronic contacts, testing actual autofocus function and aperture communication on a compatible camera body, if at all possible before finalizing a purchase, catches electronic issues that pure visual inspection can't reveal.
How to Inspect a Used Camera Lens Photos Before You Even See It in Person
For online purchases where in-person inspection isn't possible before buying, request specific additional photos beyond a seller's standard listing images: photos taken with the lens held up to bright light at an angle (specifically to reveal fungus or haze), photos of the aperture blades at both maximum and minimum aperture, and photos of the front and rear element straight-on under even, bright lighting.
A seller unwilling or unable to provide these specific angles when reasonably requested is itself worth treating as a mild red flag, legitimate sellers with genuinely clean glass are typically happy to demonstrate exactly that.
Red Flags in Seller Descriptions
Certain phrasing patterns in listings correlate, in our experience and that of collectors we've spoken with, with a higher likelihood of undisclosed issues: vague condition descriptions without specifics ("good condition, works fine" without addressing glass clarity directly), photos taken exclusively straight-on under flat lighting (which conveniently doesn't reveal fungus or haze the way angled light does), or a noticeably below-market price without a stated reason, similar to the pricing principle covered in our eyeglasses authentication guide, an unusually good deal deserves scrutiny before excitement.
None of these guarantee a problem, plenty of honest sellers simply aren't detail-oriented photographers, but they warrant asking direct follow-up questions before committing to a purchase.
Frequently Asked Questions
Can lens fungus be cleaned, or does it always require replacement?
Early-stage fungus can sometimes be professionally cleaned if it hasn't etched into the coating itself, a process best left to a qualified camera technician rather than attempted at home. Advanced fungus that has permanently etched the glass or coating typically leaves lasting damage even after cleaning, worth factoring into your offer price if you proceed with a lens showing early signs.
Is slight haze always a deal breaker?
Not necessarily, very minor haze may have minimal practical impact on image quality for casual use, though it does typically reduce contrast and increase flare susceptibility to some degree, and will generally affect resale value regardless of practical shooting impact.
How much should I negotiate the price down if I find an issue?
This depends heavily on the specific issue's severity and the lens's overall rarity and value, but as a general principle, issues affecting core optical elements (fungus, haze, separation) warrant more significant negotiation than purely cosmetic barrel wear that doesn't affect actual performance.
Should I always ask for a return policy on used lens purchases?
Wherever possible, yes, particularly for higher-value or vintage pieces bought without an in-person inspection opportunity beforehand. A seller's willingness to offer even a short return window is itself a reasonable indicator of confidence in the item's described condition.
Do these inspection techniques work the same for all camera brands, or just Leica?
The core techniques apply universally across brands and lens types, vintage or modern, the specific concerns (fungus, haze, separation) aren't Leica-specific, though the collectible, often decades-old nature of many sought-after Leica lenses does make this inspection process particularly relevant to that specific corner of the used market.
The Bottom Line
My friend's near-miss on that Summicron came down to roughly ninety seconds of careful, angled-light inspection that the seller's own photos had conveniently avoided showing.
Learning how to inspect a used camera lens for fungus, haze, and mechanical issues isn't complicated, and it's genuinely one of the highest-value skills a collector in this space can develop, the kind of small diligence that, more often than people expect, is the entire difference between a great find and an expensive mistake.
Disclosure: This article may contain affiliate links. As an Amazon Associate, we earn from qualifying purchases at no extra cost to you.